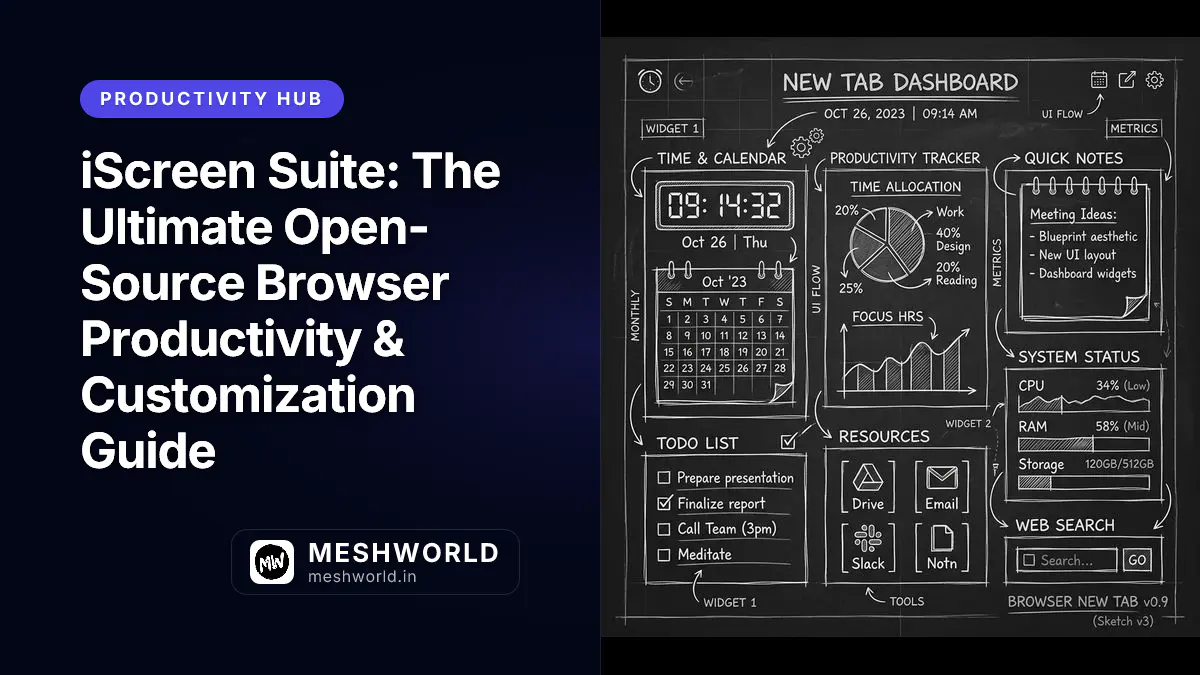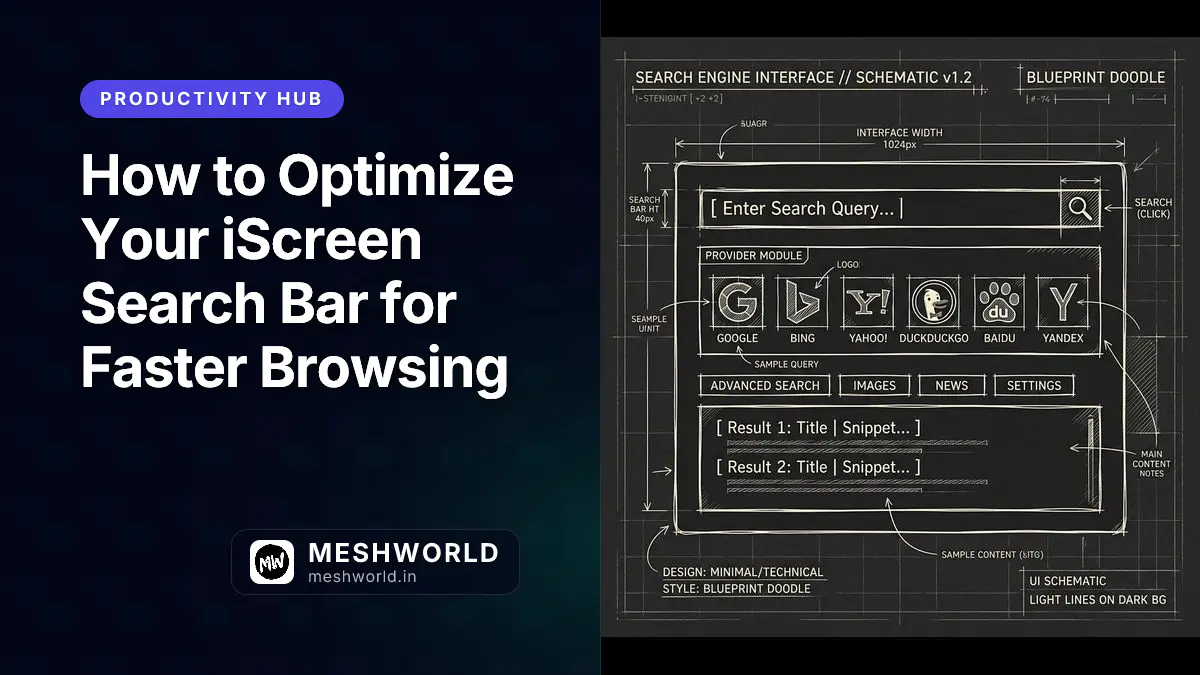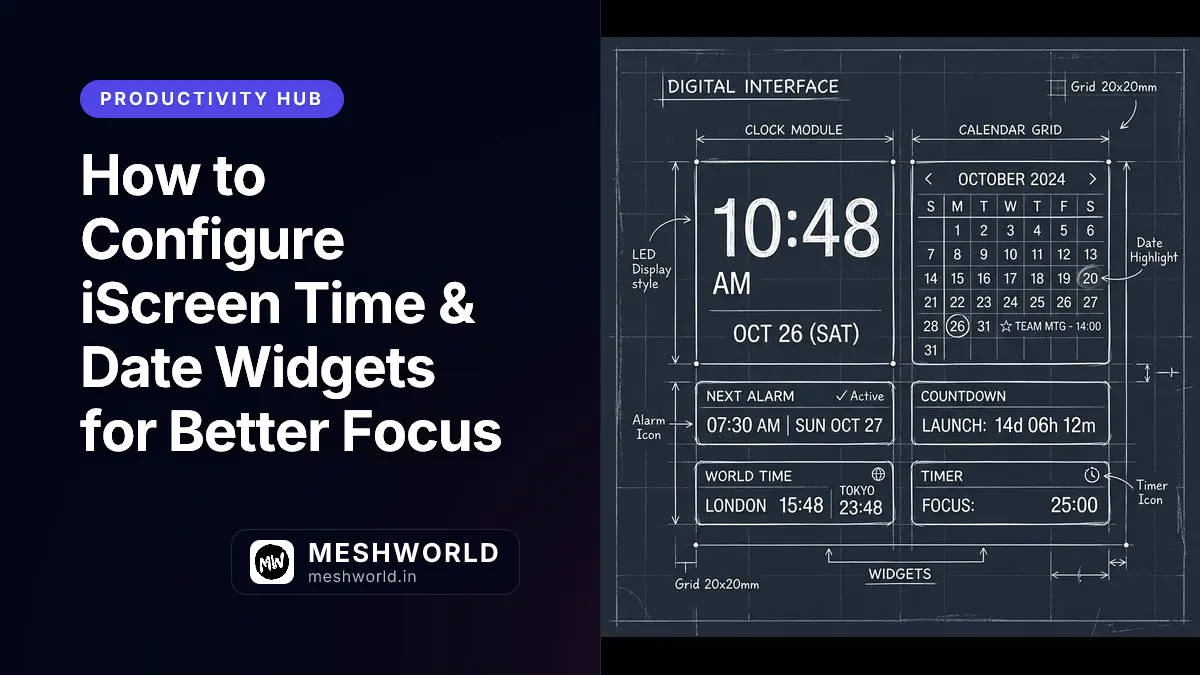

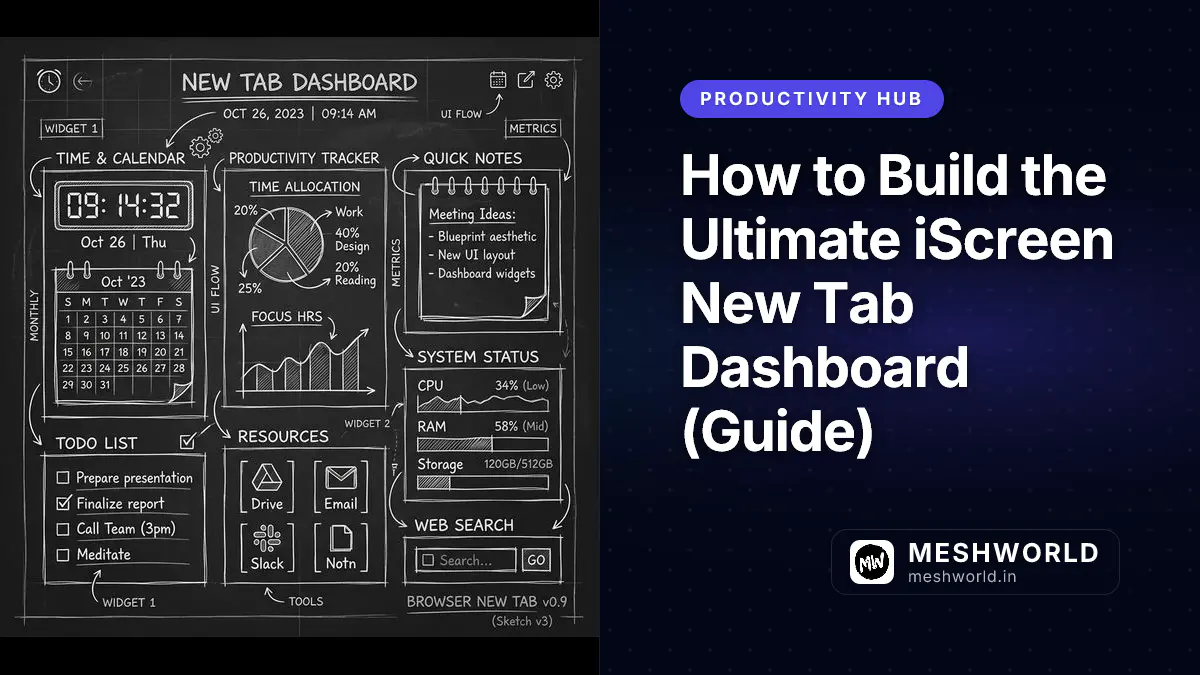
Your default browser new tab is a wasteland of distractions, endless feeds, and disorganized bookmarks dragging down your daily output. By building a customized iScreen New Tab Dashboard, you can transform this chaotic real estate into an absolute powerhouse of focus, ensuring every time you open a tab, you are instantly aligned with your priorities.
Key Takeaways
- Configure iScreen's core layout grid for maximum visual hierarchy and immediate access to crucial tools.
- Leverage advanced Vue reactivity within the iScreen engine for real-time widget updates without performance lag.
- Master custom styling overrides and widget configurations to craft a personalized, distraction-free environment.
- Implement a zero-friction workflow using integrated form fillers, tab duplicate removers, and smart shortcuts.
Prerequisites
Before diving into the advanced configuration and layout optimization of your iScreen dashboard, you need to ensure your environment is fully prepared. Setting up a high-performance workspace starts with the right foundational elements.
- iScreen Extension Installed: Ensure you have the latest “full” flavor of the iScreen V3 extension installed from the Chrome Web Store or sideloaded via your local build environment.
- Optimized Assets: High-quality background images can slow down load times if not properly compressed. Please read our guide on how to optimize images before uploading custom wallpapers. Check out our Squoosh Image Optimization Guide to ensure your custom aesthetics don’t impact dashboard performance.
- Basic Vue 3 Knowledge (Optional): While not strictly necessary for basic usage, understanding how Vue’s Composition API works will help you write advanced custom widget overrides.
Why is your new tab killing your productivity?
Your default new tab exposes you to clickbait articles, random search trends, and unsorted visual clutter that hijack your attention span the moment you intend to start working.
When you open a new tab, your brain experiences a micro-moment of vulnerability. Default browser pages exploit this by bombarding you with algorithmic content feeds and poorly managed shortcut grids. This phenomenon leads to “context collapse,” where your original intention—say, drafting an email or opening a specific project tracker—gets overwritten by the urge to click a trending news headline.
iScreen V3 fundamentally redesigns this experience. By utilizing a modular widget system backed by a robust Vue 3 reactivity engine, it replaces noise with intentionality. Every element on your iScreen dashboard is explicitly chosen by you, ensuring that the first thing you see is exactly what you need to drive your current tasks forward.
The Psychology of Dashboard Design
A well-designed dashboard relies on visual hierarchy and cognitive ease. The iScreen engine allows you to place high-priority items—like your daily objectives or calendar events—in the “F-pattern” reading zones.
- Top Left: Primary focus (Clock, Current Task).
- Center: Quick actions and frequently accessed tools.
- Periphery: Passive information (Weather, Background quotes).
If it takes you more than 3 seconds to find the tool or link you need upon opening a new tab, your layout is too complex. Aim for absolute minimalism.
How do you configure the core dashboard settings?
To configure your core dashboard settings, open the iScreen sidepanel, navigate to the Layout section, and use the drag-and-drop grid manager to position, resize, and lock your chosen productivity widgets.
The iScreen New Tab Experience (NTE) is highly customizable, driven by a layout engine that adapts to your screen size while respecting your chosen constraints. Here is a detailed walk-through of the configuration process.
Navigating the Menu Options
The control center for your dashboard is the sidepanel. Clicking the iScreen icon or using the Ctrl+Shift+K shortcut reveals the settings menu.
- Layout Manager: Choose between predefined layouts (Centered, Left-Aligned, Bento Grid) or create a custom grid. The Bento Grid is highly recommended for users who need multiple tools simultaneously without feeling overwhelmed.
- Widget Library: A searchable repository of all available widgets. Drag a widget from the library directly onto your dashboard canvas.
- Theme & Appearance: Control the global CSS variables. iScreen uses a sophisticated
iscreen-prefixed Tailwind system. Here, you can adjust the border radius, glassmorphism intensity (backdrop blur), and color palettes (e.g., Indigo-500 primary, Slate-950 background). - Behavioral Settings: Toggle animations on or off. If you are on a lower-end machine, disabling micro-animations can save CPU cycles.
Advanced Configuration Tips
For power users, simply dragging and dropping isn’t enough. You can dive deeper into widget specific settings.
- Clock Widget: Right-click to change the time format, enable dual time zones, or attach a Pomodoro timer directly to the clock face.
- Quick Links: Instead of manually adding URLs, sync your most accessed GitHub repos or Figma files by hooking into their respective webhooks (requires developer flavor).
- Backgrounds: Set a rotation interval. Use the Unsplash integration with specific keywords (e.g., “minimalist architecture”, “dark space”) to keep the aesthetic fresh without being distracting.
Once you have achieved the perfect layout, go to Settings > Layout and toggle Lock Dashboard. This prevents accidental dragging or resizing of widgets during rapid navigation.
How does the dashboard rendering engine use Vue reactivity?
The dashboard rendering engine leverages Vue 3’s Composition API and shallowRef to independently update individual widget states in real-time, completely bypassing the performance bottleneck of full-page re-renders.
Under the hood, iScreen V3 is an architectural marvel built for speed. When dealing with a new tab page, absolute zero latency is the goal. Users expect the page to render instantly.
The Role of shallowRef and Pinia
Traditional dashboards often store all widget data in a single, deeply reactive state object. When one widget updates (like a clock ticking every second), the entire virtual DOM might undergo unnecessary diffing.
iScreen avoids this by implementing localized state management.
// Example of how iScreen manages widget state internally
import { shallowRef, computed } from 'vue';

// Using shallowRef prevents deep reactivity overhead for large datasets
const widgetData = shallowRef({
  id: 'weather-01',
  temperature: 72,
  condition: 'Clear'
});

// Updates are hyper-targeted
const updateTemperature = (newTemp: number) => {
  widgetData.value = { ...widgetData.value, temperature: newTemp };
};
This code snippet illustrates how the core engine handles state. By using shallowRef, the engine tells Vue only to track the top-level object. If a massive payload of data (like a week’s worth of calendar events) is fetched, Vue doesn’t waste time making every single nested property reactive.
Real-Time Event Bus
iScreen uses a custom messaging bus (@iscreen/core/messaging) to communicate between the background script and the new tab page. When a background alarm triggers a wallpaper change or detects a duplicate tab, it broadcasts a strictly typed message. The NTE (New Tab Experience) components listen for these specific events and update their local state immediately.
If you are developing custom widgets for your local build, never place heavy data parsing logic directly inside a component’s setup function. Always offload to a background worker or a dedicated Pinia store action to keep the UI thread unblocked.
What are the optimal user flows for productivity?
The optimal user flow involves triggering the new tab, glancing at the centralized task widget to establish context, and immediately using keyboard shortcuts to launch specific workspaces or tools without touching the mouse.
A dashboard is only as good as the workflows it enables. Let’s compare standard user flows with iScreen-optimized flows.
User Flow Comparison
| Action | Standard Browser Flow | iScreen Optimized Flow | Time Saved |
|---|---|---|---|
| Opening a Project | Open tab -> Look for bookmark -> Click folder -> Click link | Open tab -> Type Cmd+J (Quick Launch) -> Enter keyword | ~5 seconds |
| Checking Schedule | Open tab -> Type calendar.google.com -> Wait for load | Open tab -> Glance at integrated Calendar Widget | ~10 seconds |
| Closing Duplicates | Manually scan 50 tabs across 3 windows | Open tab -> Click “Clean Duplicates” FAB widget | ~30+ seconds |
Integrating the Form Filler and Tab Logic
iScreen’s “full” flavor includes the Tab Duplicate Remover (TDR) and Form Filler (FF) capabilities.
If your work involves extensive testing or data entry, placing the FF Persona Selector widget in the top-right quadrant allows you to switch data contexts (e.g., from “Jane Doe - Admin” to “John Smith - Guest”) instantly before opening a staging URL.
Similarly, the TDR floating widget constantly monitors your session. If you open a new tab that already exists in another window, the widget softly pulses, allowing you to jump to the existing tab rather than spinning up a redundant instance and wasting RAM.
Summary
- Design for Intent: Your new tab should eliminate algorithmic distractions and feature a strict visual hierarchy favoring your immediate tasks.
- Master the Grid: Utilize the sidepanel Layout Manager to lock in a Bento-style grid, keeping critical widgets in top reading zones.
- Understand the Engine: iScreen’s speed comes from Vue 3’s
shallowRefand targeted Pinia stores, ensuring widgets update independently without page lag. - Optimize Workflows: Combine visual widgets with keyboard shortcuts and iScreen’s advanced capabilities (TDR, FF) to slash seconds off repetitive browser actions.
FAQ
How do I backup my custom iScreen dashboard layout?
iScreen automatically syncs your layout configuration to Chrome’s syncStorage. As long as you are logged into your browser profile, your layout will persist across devices. You can also manually export a JSON configuration from the Settings menu.
Can I use custom CSS to style individual widgets?
Yes. In the developer flavor, you can access the “Advanced Appearance” tab and inject custom CSS. Remember that all iScreen classes use the iscreen- prefix, so you must target them accordingly (e.g., .iscreen-widget-card).
Why does my background image take a few seconds to load?
If you are using high-resolution custom images (4K+), the browser needs time to render them. Ensure you optimize your images (compress to ~85% quality, 1920x1080) before uploading them to the local asset manager.
Is it possible to disable the layout grid and place widgets freely?
Currently, iScreen enforces a snap-to-grid layout to ensure responsive design across different monitor sizes and window states. Free-placement is not supported as it breaks the core layout algorithms on resize events.