

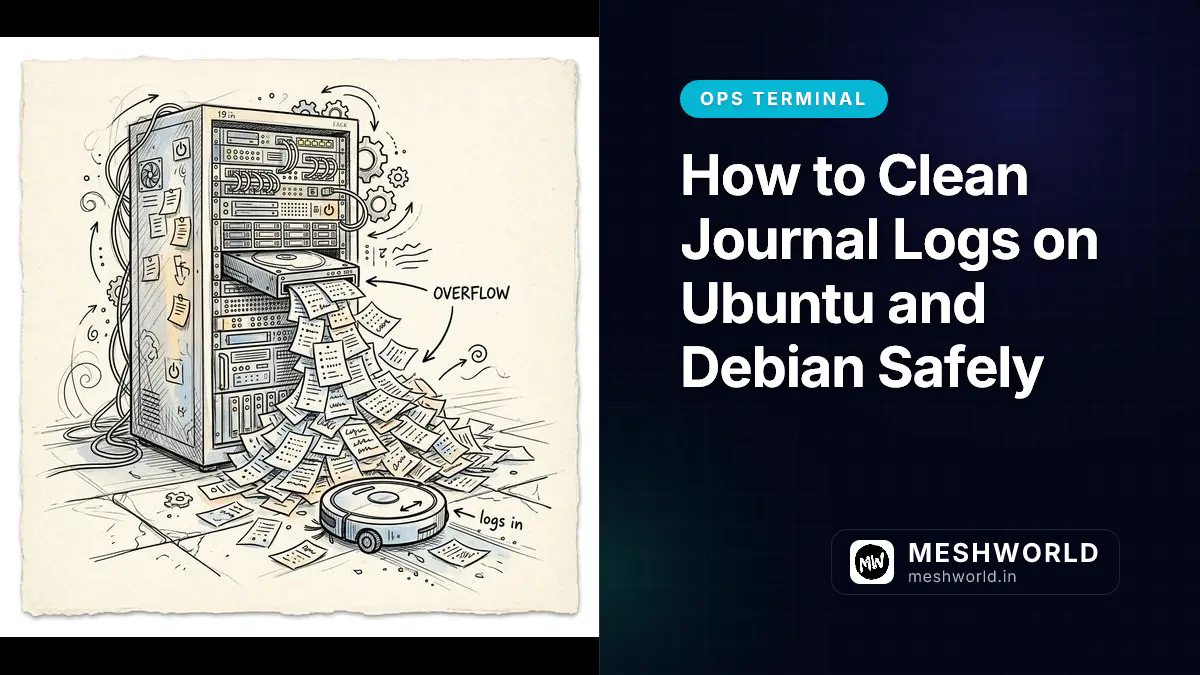
A remote VM stops responding. SSH times out. Console access reveals the root partition at 100% capacity — systemd-journal is eating 8GB.
Common on production servers and busy dev desktops. systemd provides safe, built-in tools to inspect, rotate, and vacuum logs without filesystem corruption.
Server infra config goes hand-in-hand with daily maintenance. My guide on Install and Configure PHP on Ubuntu 26.04 covers setting up a complete web stack after clearing storage.
Key Takeaways
- Running 'rm -rf' on systemd journal directories corrupts the active log database and crashes journald.
- Log rotation flushes in-memory entries to persistent storage before cleanup.
- Vacuum by max size (--vacuum-size=500M) or retention age (--vacuum-time=7d).
- Edit /etc/systemd/journald.conf for hard limits that prevent disk space issues permanently.
What Are systemd Journal Logs?
Modern Linux distributions (including Ubuntu 16.04+, Debian 8+, Fedora, and RHEL 7+) use systemd as their init system. Part of systemd is journald, a centralized logging daemon that collects entries from the Linux kernel, system services, standard output/error streams, and system syslog commands.
These logs are stored in binary format to enable fast searching and filtering via the journalctl utility. If persistent storage is enabled on your system, these logs reside in /var/log/journal/. On systems configured for volatile (in-memory) logging, they are kept in /run/log/journal/.
Without active configuration limits, journal logs can expand to occupy up to 10% of the active volume or a hard cap of 4GB (whichever is smaller). On smaller cloud instances or containers, this default allocation is often enough to exhaust available disk space.
How Do You Clean systemd Journal Logs Safely?
When cleaning up space on a Linux server, your first instinct might be to run rm -rf /var/log/journal/*. Do not do this. Deleting the active binary database files while the systemd-journald service is running can corrupt the journal database, cause logging daemons to crash, and lead to diagnostic data loss.
Instead, follow this safe four-step procedure using the official systemd tools.
 Image Prompt: A premium hand-drawn sketch note style illustration showing a system log vacuuming flow, detailing active log rotation into archives and pruning by size or retention time.
Step 1: Check Current Disk Usage
First, find out exactly how much disk space your systemd journal files are currently consuming. Run this command:
sudo journalctl --disk-usageThe output will display the exact size of both active and archived journals:
Archived and active journals take up 4.2G in the file system.To verify the directory path and double-check directory sizes, use the standard du command:
sudo du -hsc /var/log/journal/Step 2: Rotate and Flush Pending Entries
Before you trigger a vacuum command, rotate the journal files. This forces systemd to close the active log file, archive it, and open a new, blank log file. Any cleanup command you run will only affect archived files, never active ones.
Run the rotation command:
sudo journalctl --rotateIf you are debugging a system that was recently running on memory-only logging, flush the logs from the volatile /run/ directory into the persistent /var// directory:
sudo journalctl --flushStep 3: Choose Your Vacuum Method
You can clean up old logs using size-based limits, time-based limits, or a combination of both.
Option A: Vacuum by Storage Size
Keep only the most recent logs up to a specific storage size. Any archived logs beyond this threshold will be permanently deleted.
To limit logs to 500 megabytes:
sudo journalctl --vacuum-size=500MTo limit logs to 1 gigabyte:
sudo journalctl --vacuum-size=1GOption B: Vacuum by Time Retention
Remove log entries older than a specified duration. Valid time units include: s (seconds), m (minutes), h (hours), d (days), w (weeks), months, and y (years).
To delete logs older than 7 days:
sudo journalctl --vacuum-time=7dTo delete logs older than 30 days:
sudo journalctl --vacuum-time=30dTo delete logs older than 2 hours (useful on containers):
sudo journalctl --vacuum-time=2hOption C: Combine Size and Time Criteria
You can run both vacuum commands sequentially to apply strict cleanup bounds:
sudo journalctl --vacuum-time=30d --vacuum-size=1GThis keeps logs that are less than 30 days old AND maintains total size under 1GB—whichever condition is stricter.
Step 4: Verify the Cleanup
Run the disk usage query again to confirm that systemd successfully reclaimed the disk space:
sudo journalctl --disk-usageHow Do You Prevent Future Journal Log Growth Permanently?
Running vacuum commands manually is a temporary fix. To prevent journal files from expanding out of control in the future, configure permanent limits in the configuration file.
Step 1: Open the Configuration File
Open the main journald configuration file with your preferred text editor (using sudo privileges):
sudo nano /etc/systemd/journald.confStep 2: Set Your Log Retention Limits
Locate the [Journal] section. By default, most of these parameters are commented out with a #. Remove the # character and specify your limits:
[Journal]
SystemMaxUse=500M          # Total journal size capped at 500MB
SystemMaxFileSize=50M      # Individual file max 50MB
SystemMaxFiles=10          # Maximum 10 archived journal files
KeepFree=1G # Leave at least 1GB free on disk| Setting | Purpose | Recommended Value |
|---|---|---|
SystemMaxUse | Maximum total disk space for all journal files | 200M–1G depending on system size |
SystemMaxFileSize | Maximum size for individual journal file | 50M |
SystemMaxFiles | Maximum number of archived journal files | 10 |
KeepFree | Minimum free disk space preserved | 1G |
These values prevent journald from consuming excessive disk space on small VMs or containers.
Step 3: Apply the Configuration Changes
Save and close the file. To make systemd read the new configuration, reload the system daemon and restart the logging service:
sudo systemctl daemon-reload
sudo systemctl restart systemd-journald
Your new limits are now active and will automatically apply during future log rotations.
What is the Emergency Cleanup Procedure When Vacuuming Fails?
In rare scenarios, such as when a system service runs wild and writes millions of garbage logs per second, the binary database index can become corrupted. If this happens, standard journalctl --vacuum commands may throw errors or fail to release disk space.
If you must perform an emergency reset, use this strict sequence:
Step 1: Stop the Logging Service
Stop the daemon to prevent active writes during deletion:
sudo systemctl stop systemd-journaldStep 2: Remove the Archive Files
Delete the contents of the log folder. Do not delete the /var/log/journal/ folder itself, as systemd requires this path to start the service.
sudo rm -rf /var/log/journal/*⚠️ Critical: Do NOT delete the
/var/log/journal/directory itself.systemd-journaldrequires this directory to exist. Deleting it will cause the service to fail on restart.
Step 3: Restart the Logging Service
Restart the service to recreate the fresh, empty database structures:
sudo systemctl start systemd-journaldBest Practices Summary
✅ DO:
- Use
journalctl --vacuum-sizeorjournalctl --vacuum-timeregularly. - Configure permanent limits in
/etc/systemd/journald.conf. - Monitor journal disk usage with
journalctl --disk-usage. - Schedule weekly automated cleanup via cron if needed.
❌ DON’T:
- Manually
rm -rffiles in/var/log/journal/while the service is running. - Delete the entire
/var/log/journal/directory. - Ignore large journal growth on production servers.
Quick Reference: Linux (systemd) Cheat Sheet
| Goal | Command |
|---|---|
| Check disk usage | sudo journalctl --disk-usage |
| Rotate logs | sudo journalctl --rotate |
| Flush pending entries | sudo journalctl --flush |
| Vacuum by size (500MB) | sudo journalctl --vacuum-size=500M |
| Vacuum by time (7 days) | sudo journalctl --vacuum-time=7d |
| Combined vacuum | sudo journalctl --vacuum-time=30d --vacuum-size=1G |
| Edit config | sudo nano /etc/systemd/journald.conf |
| Apply config changes | sudo systemctl restart systemd-journald |
Summary
Maintaining systemd journal logs keeps your storage partitions clean and prevents silent server crashes.
- Inspect usage using
sudo journalctl --disk-usage. - Clean safely with
sudo journalctl --vacuum-size=500Morsudo journalctl --vacuum-time=7d. - Automate limits by configuring
SystemMaxUse=500Min/etc/systemd/journald.conf. - Never use
rm -rf /var/log/journal/without stopping the service first.
Frequently Asked Questions
Can I completely disable persistent systemd logging?
Yes. You can edit /etc/systemd/journald.conf and set Storage=volatile. This forces systemd to store all logs in /run/log/journal/, meaning logs are held in RAM and completely wiped on reboot.
Why does ‘journalctl —disk-usage’ still show space after vacuuming?
The vacuum command only cleans up archived (closed) journal files. The active journal file currently being written to will not be deleted. If you need to clean further, run sudo journalctl --rotate first to force the active file to close and become eligible for vacuuming.
Can I automate vacuuming with a cron job?
Yes, but setting limits in /etc/systemd/journald.conf is preferred because it handles log purging dynamically as files are written. If you still want a cron job, you can add 0 2 * * * /usr/bin/journalctl --vacuum-size=500M to your system crontab to clean logs daily at 2:00 AM.
What to Read Next
- How to Harden SSH on Linux Servers — Protect your terminal endpoints from brute-force attempts.
- Nginx Reverse Proxy Configuration Guide — Set up a secure frontend wrapper for your backend services.